
You can save more time on your business by utilizing the power of email auto-responders. This is very useful when you are on vacation or probably if you don’t have enough time during the day to answer emails.
An Email auto-responder provides great opportunities and has been considered the most valuable marketing tool when it comes to attending to the needs of your customers.
In this guide, we have put together the various steps that you should follow to create an email trigger that should reply to
Prerequisites
- A domain name e.g. www.example.com
- Web hosting account that supports cPanel
- Cpanel username and password.
- A valid email account pointing to your domain (e.g. admin@example.com)
Step 1: Launch your cPanel account
Launch your cPanel account by visiting your domain name followed by ‘/cpanel’ e.g. ‘www.example.com/cpanel’ where ‘example.com’ is the primary domain name associated with your hosting account. Then, enter your login credentials and click ‘Log In’ to proceed.

Step 2: Locate autoresponders from the Email section
In your cPanel dashboard, navigate to the ‘EMAIL’ category and locate ‘Autoresponders’ and click the link:

Step 3: Customize email autoresponders
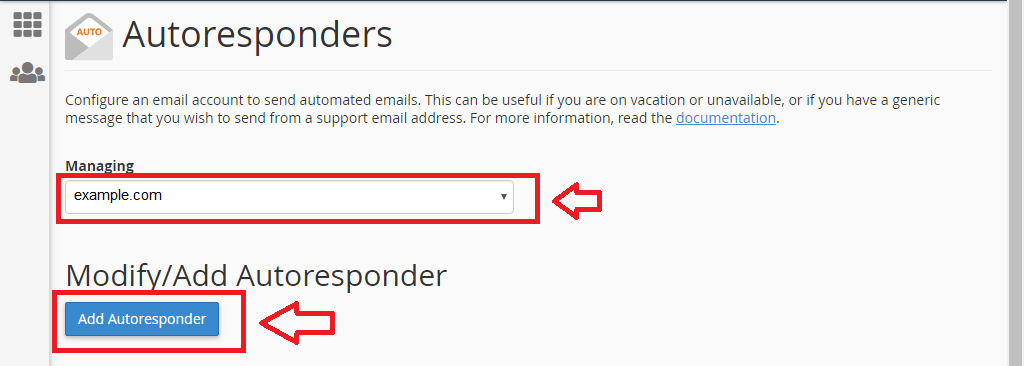
Next, select the domain name under which you want to create an email autoresponder for .Then click the ‘Add Autoresponder’ button:
On the next screen, enter your customization details. You can leave the ‘Character Set’ field intact. Then enter the number of hours to wait between responses to the same email address on the respective field (e.g. 1). Input the first part of your email address. For instance, if you are creating an autoresponder for billing@example.com, just enter ‘billing’ on the ‘Email’ text field.
On the ‘From’ field, enter a name (e.g. Billing Department’) then enter a descriptive subject of the email. In this case, I have used ‘AUTO RESPONSE’ for demonstration purposes. Feel free to change the value to something more meaningful depending on your business culture.

Enter the body of the message. You may also customize the start and end date when your email autoresponder will work. Once you are done, click on the ‘Create/Modify’ button:

Step 4: Testing the setup
You can test whether your email autoresponder was setup correctly by sending a test email to the address that you have used above. If everything is working fine, you should see the email below:

Conclusion
In this guide, we have shown you hot to save time on your business by creating a good impression to your customers’ emails even when you can’t answer their messages. Sending an email back to your clients provides hope that their query will be addressed once you are back and this ensures that you don’t lose any sales. It’s also a good way to keep your audience engaged or even provide more information regarding their concern.
Check out these top 3 cPanel hosting services:

- Our suggestions for the best email hosting are here.


